Lineage 1 Emblems High Quality Page
The fantastically fun social deduction game
Blood on the
Clocktower is still in prototype, expected to release
in early to mid 2022. But some of us can't wait!
Fortunately for eager fans,
the Pandemonium
Institute has announced they are happy for anyone to use
do-it-yourself resources to make the physical game (called a
“Grimoire”, the box loaded up with all components) provided we
don't sell anything and don't use it for automated games.
Here is my current set of documents for printing DIY Blood on the
Clocktower components. All this work is my adaptation of art and
text © 2014–2021 Steven Medway and Pandemonium Institute.
This is intended to supplement official resources found via the
Blood on the
Clocktower site. I don't consider this to be a print-and-play
suitable game; these are for only some of the game components.
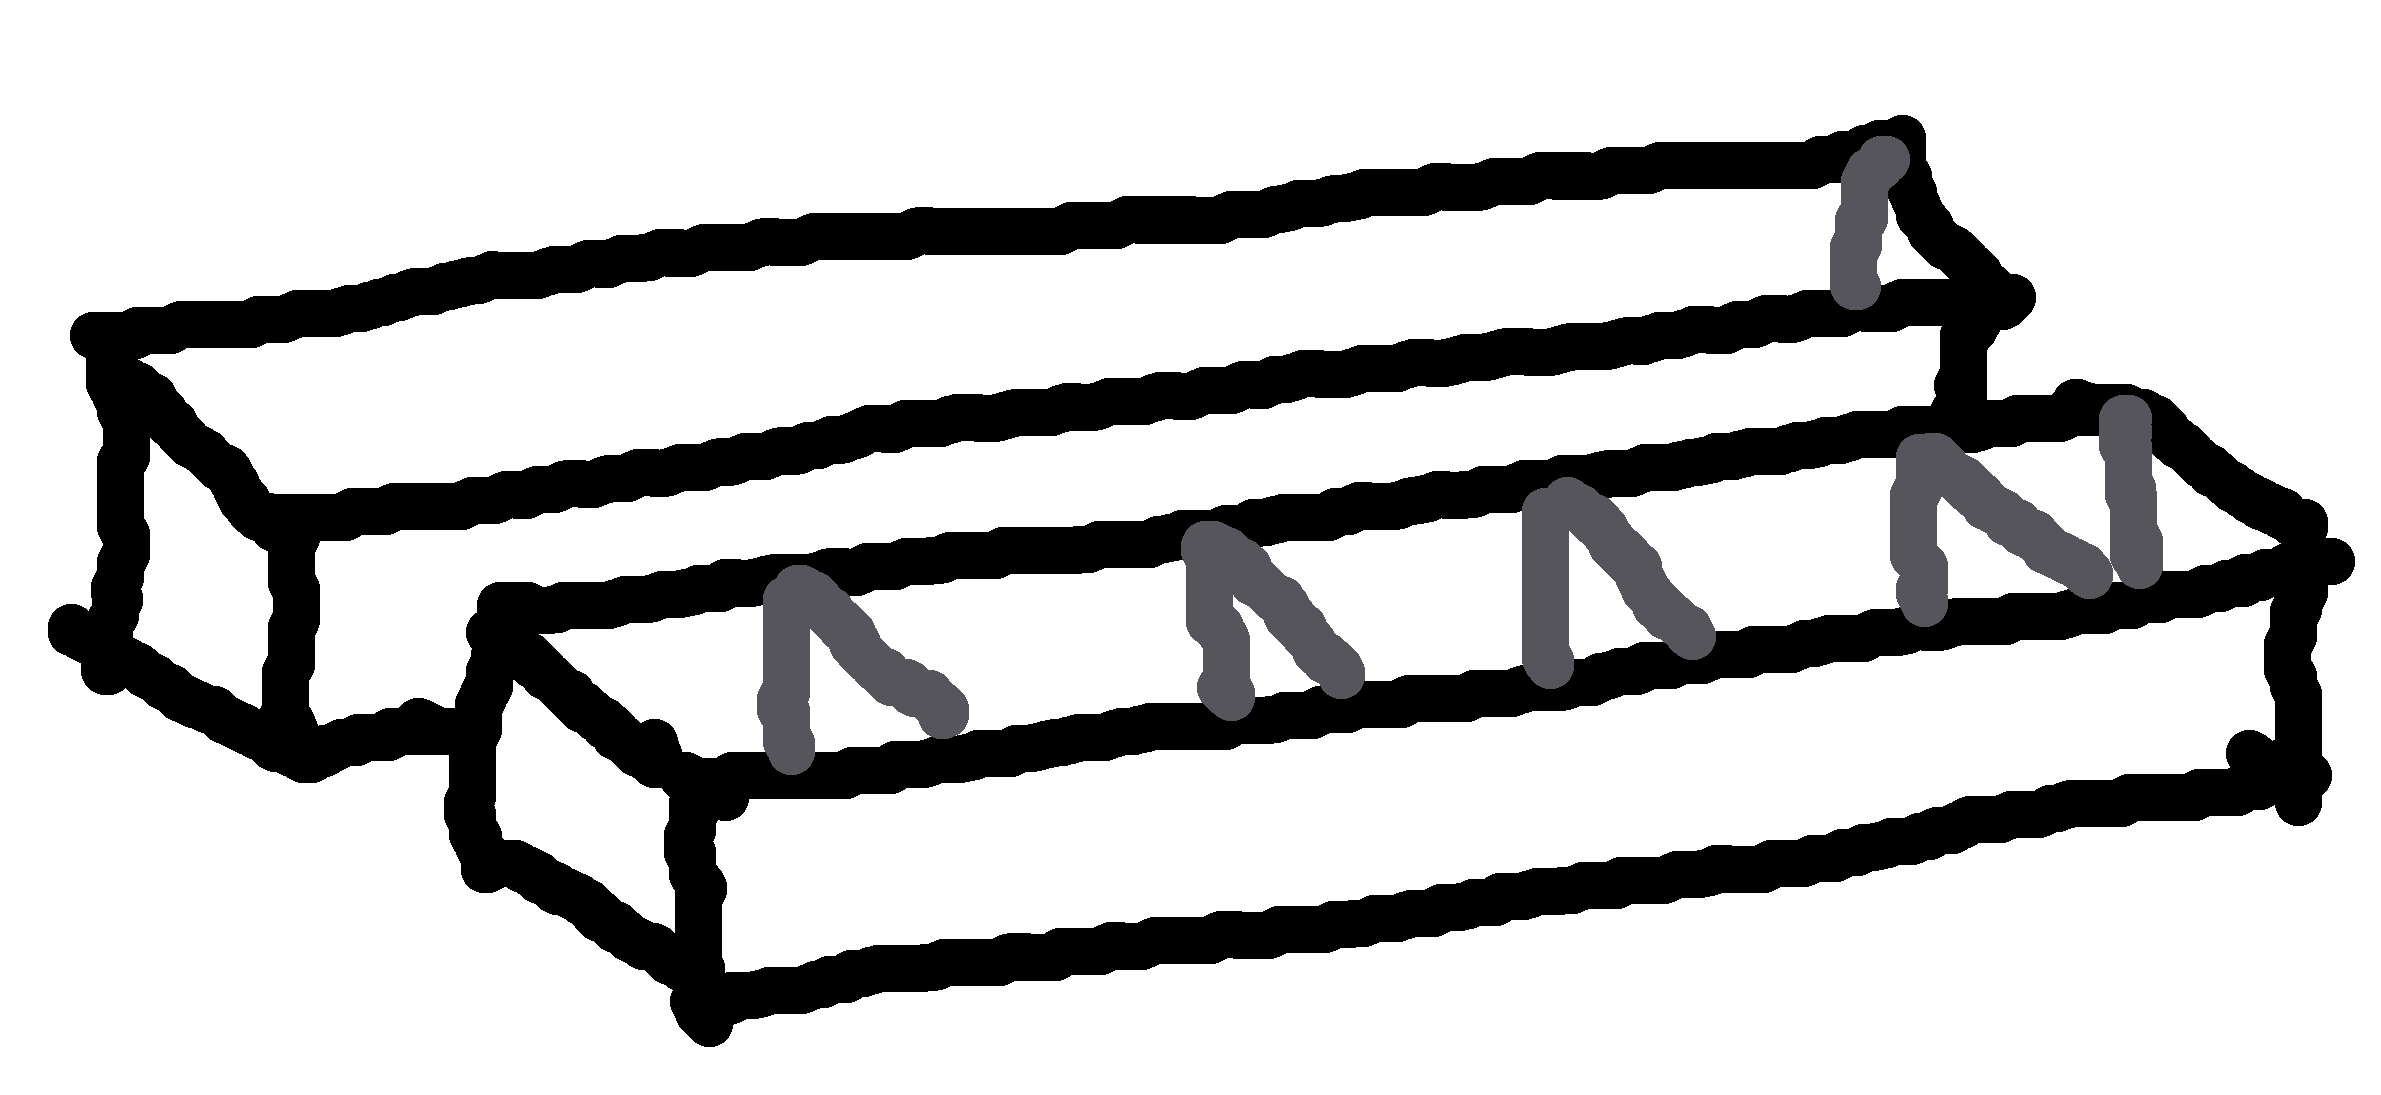
Grimoire box

You'll need a large, sturdy box for the Grimoire. I've
up-cycled an unwanted game that has a good deep rectangular box;
this document is custom shaped to that. Print on single-sided A3
paper, and apply these panels to all exterior surfaces of the
lid and tray. I then cover all that with protective
adhesive-backed transparent film.
Component boxes
There are so many components in this game it is wise to keep
them organised into smaller containers, both for storage and
during play.
Each edition gets a long box for its tokens (character,
marker). There is an extra “Storyteller box” for the general
components for Town Square (life token, vote token, name label),
Grimoire (death shroud, information card, reminder token) and
Fabled tokens (character, marker).
Print single-sided onto A3 paper, glue panels to each side of
sturdy card (make sure to line up each side exactly), then cut,
fold, and glue to form the boxes. These are sized to fit inside
my custom Grimoire box.
A set of modular separators divide each long box into sections.
Print the dividers onto thick card, cut and fold, and glue at
the marked positions in the base of each box.
- Component boxes
for general components and each base edition (7.8MiB, PDF)
(2020-04-191)
Character tokens
The web images are a good start, but are optimised for display
on a pixel device, not printing to paper. The resolution is low,
there's a useless shadow, the text is blurry, etc.
I've made these high-resolution tokens, rendered the icons, no
shadow, and a more readable font. 47mm diameter tokens. Pages
are A4 size.
Grimoire tokens
All the tokens for the Grimoire (except characters): ability
markers, alignment markers, info cards, death shrouds, night
reminders.
A track to show the current day or night phase, by number.
Two large cards (or one card double-sided) to declare, and pose
for photos, which team won the game.
The 12 information card faces can be made single-sided (12
cards) or glued back to back double-sided (6 cards).
A brochure-like promotional card with a little detail about the
game, to show to curious onlookers while a game is in progress.
Town Square
I use a Town Square sized for the specific game board that I
cannibalised; you may find it useful, but you also might want to
re-size it.
The document is designed for a folding two-panel board. The
front panels show the Town Square and a table of Character
Counts for reference during the game. The rear panels show an
overview of the game.
Reference
Rules explanation and setup

One-page rules explanation, in two variants.
- First-person variant: The Storyteller reads the
explanation aloud to the group. The second page is a
bullet-point checklist of steps to set up the game from the
beginning.
- Third-person variant: A delegated assistant player reads
the explanation aloud to the group. The second page is a
reference sheet of Travellers and Character counts, to
display under the Town Square.
A4, print two double-sided sheets for laminating.
When teaching the game these days, I use a rules explanation
that differs in some places. See a detailed discussion
of my custom rules explanation for the game.
Character reference and night sheet


Character reference and night sheet, double-sided in a single
document.
One document per edition:
Travellers and Fabled

Reference sheet for all Travellers and Fabled. Two pages, or
print double-sided for a single sheet to laminate for everyone's
use.
Lineage 1 Emblems High Quality Page
To create a valid emblem, your image file must meet these strict criteria: Exactly 16 pixels wide by 12 pixels high ( Format: standard 24-bit or 16-bit Bitmap ( .bmp ). File Size: Typically around 600 bytes to 1 kilobyte.
Because a 16x16 canvas offers only 256 total pixels, pixel art precision is mandatory. Complex logos will turn into unrecognizable blur. Stick to bold shapes, high-contrast colors, and iconic symbols. Step 1: Choose Your Editor
At 16 × 12 pixels, you only have 192 total pixels to work with! Avoid gradients and thin lines. Use thick borders and vibrant, primary colors to ensure your Blood Pledge crest is easily identifiable in the chaos of PvP combat. The Evolution of the Emblem in Modern Lineage lineage 1 emblems
Pledges can form Alliances, which introduce further emblem rules: Shared Identity
If successful, the game will deduct any required Adena, and your new emblem will instantly appear next to your character name. Other players will see it as soon as their game client refreshes or they re-enter your screen space. Troubleshooting Common Upload Errors To create a valid emblem, your image file
The classic choice. It handles pixel-perfect editing and saves native .bmp files easily.
The Monarch must usually reach Level 13 or higher to create a basic pledge, and often Level 20+ to unlock emblem customization (though exact level requirements can vary slightly between classic official servers and custom private servers). Complex logos will turn into unrecognizable blur
To successfully upload a custom emblem, the image file must meet exact technical specifications: Dimensions : 16 x 12 pixels. Transparency
Note: There is usually a small Adena fee or a specific item requirement (such as a Mark of Clan) required to officially register the emblem with the server. Advanced Crest Tips: Making Your Blood Pledge Stand Out
A dedicated pixel art tool that offers grid overlays and precise color management.
Give your emblem file a simple, short name. For example, rename it to crest.bmp .
To create a valid emblem, your image file must meet these strict criteria: Exactly 16 pixels wide by 12 pixels high ( Format: standard 24-bit or 16-bit Bitmap ( .bmp ). File Size: Typically around 600 bytes to 1 kilobyte.
Because a 16x16 canvas offers only 256 total pixels, pixel art precision is mandatory. Complex logos will turn into unrecognizable blur. Stick to bold shapes, high-contrast colors, and iconic symbols. Step 1: Choose Your Editor
At 16 × 12 pixels, you only have 192 total pixels to work with! Avoid gradients and thin lines. Use thick borders and vibrant, primary colors to ensure your Blood Pledge crest is easily identifiable in the chaos of PvP combat. The Evolution of the Emblem in Modern Lineage
Pledges can form Alliances, which introduce further emblem rules: Shared Identity
If successful, the game will deduct any required Adena, and your new emblem will instantly appear next to your character name. Other players will see it as soon as their game client refreshes or they re-enter your screen space. Troubleshooting Common Upload Errors
The classic choice. It handles pixel-perfect editing and saves native .bmp files easily.
The Monarch must usually reach Level 13 or higher to create a basic pledge, and often Level 20+ to unlock emblem customization (though exact level requirements can vary slightly between classic official servers and custom private servers).
To successfully upload a custom emblem, the image file must meet exact technical specifications: Dimensions : 16 x 12 pixels. Transparency
Note: There is usually a small Adena fee or a specific item requirement (such as a Mark of Clan) required to officially register the emblem with the server. Advanced Crest Tips: Making Your Blood Pledge Stand Out
A dedicated pixel art tool that offers grid overlays and precise color management.
Give your emblem file a simple, short name. For example, rename it to crest.bmp .